Using with Rails
On this page
This guide walks through the process of using the Design System components in a Rails application.
This is the web application framework we use for the majority of our products at Citizens Advice.
The goal of this guide is to set up a basic Rails application from scratch using the design system. Along the way we’ll describe any best practices or considerations you might need to make.
Prerequisites
This guide assumes you have some existing Rails knowledge. It also assumes you have the following dependencies installed:
- Ruby version 3.2 or later
- Node version 18 or later
Creating the application
We’ll start by creating a new Rails application. We’re going to be creating an application with a few constraints:
- No database. We’ll disable ActiveRecord to keep our guide simple.
- Use ERB for templates. Some of products use Haml but for this guide we’ll use standard ERB templates.
- Use Sass for stylesheets using cssbundling-rails. Sass is the recommend way to use the design system stylesheets.
- Use esbuild for JavaScript bundling using jsbundling-rails
- No Hotwire. Whilst you may want to explore this in your own applications we’re skipping it for the purposes of this guide.
The following command will generate a new application with the presets described above:
rails new --skip-active-record --skip-hotwire --javascript=esbuild --css=sass design-system-guide
You can then run the application using the included dev script:
./bin/dev
Add a sample controller and view
Before we add any design system specific code we’ll also need a basic controller and view to use.
We’ll first generate a basic home controller using:
./bin/rails g controller home index --no-helper --skip-routes
Then, replace the contents of app/views/home/index.html.erb with:
<h1>Hello Design System!</h1>
And finally add the following to config/routes.rb:
root "home#index", as: :home
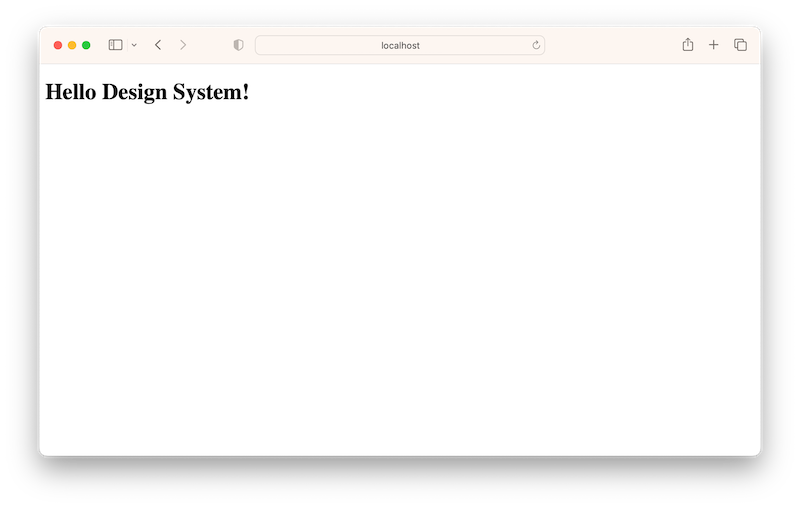
At this point running the application should look like this:
Using the Design System assets
The main component of the Design System is @citizensadvice/design-system which is an npm package containing styles, JavaScript modules, fonts, and icons.
You can install the core package from npm. We’ll also make sure to pin to an exact version. The npm package and the gem versions need to match so it’s important to specify an exact version here.
npm install --save-exact @citizensadvice/design-system@5.5.0
After you’ve done this you’ll need to add the following to your config/initializers/assets.rb file:
# Add design system fonts to the asset load path
Rails.application.config.assets.paths << Rails.root.join("node_modules/@citizensadvice/design-system/assets/fonts")
And finally, add the following to your app/assets/stylesheets/application.sass.scss entrypoint:
@import '@citizensadvice/design-system/scss/lib.scss';
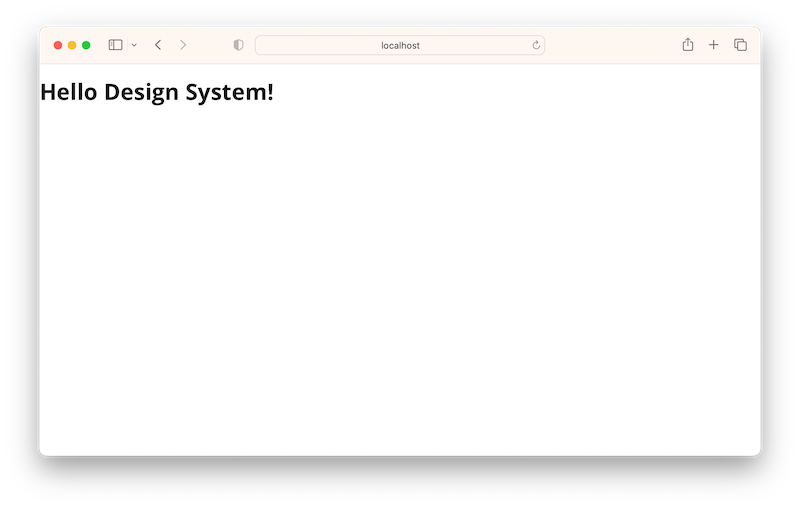
If this has worked you should be able to restart your application and see the words “Hello Design System!” using the Citizens Advice brand font (Open Sans).
Setting up an application layout
The basic template generated by our rails new command gave us enough to get going but in order to use all the design system components we’ll need to add a few things to our application.html.erb layout.
The following is an annotated layout template including any Rails defaults which you can adapt to suit your application:
<!DOCTYPE html>
<%# The `no-js class` is required by the Design System styles %>
<html class="no-js" lang="<%= I18n.locale %>">
  <head>
    <meta charset="utf-8" />
    <title>Design System guide</title>
    <meta name="viewport" content="width=device-width,initial-scale=1">
    <%= csrf_meta_tags %>
    <%= csp_meta_tag %>

    <%# Adding `media: "all"` to the stylesheet allows inline print styles to be loaded %>
    <%= stylesheet_link_tag "application", media: "all" %>

    <%# Pre-loading the Design System fonts can help with flash of unstyled text %>
    <link href="<%= asset_path("open-sans-v26-latin-700.woff2") %>" rel="preload" as="font" type="font/woff2" crossorigin="true" />
    <link href="<%= asset_path("open-sans-v26-latin-regular.woff2") %>" rel="preload" as="font" type="font/woff2" crossorigin="true" />
    <link href="<%= asset_path("cads.woff") %> rel="preload" as="font) %>" type="font/woff" crossorigin="true" />

    <%# This script pairs with the no-js class on the HTML element and is needed for fallback styles. %>
    <script>document.querySelector('html').classList.remove('no-js');</script>
    <%= javascript_include_tag "application", "data-turbo-track": "reload", defer: true %>
  </head>
  <body>
    <%# This ID is required when using the skip links provided by the header component %>
    <div id="cads-main-content"><%= yield %></div>
  </body>
</html>
Once you’ve done this we can also update our sample view at app/views/home/index.html.erb to include some layout classes.
<%# The cads-page-content container represents the main page wrapper %>
<div class="cads-page-content">
  <%# See https://citizens-advice-design-system.netlify.app/foundations/grid/ %>
  <div class="cads-grid-container">
    <div class="cads-grid-row">
      <%# Using the `md` variant here ensures the colum is responsive %>
      <main class="cads-grid-col-md-8">
        <h1 class="cads-page-title">Hello Design System!</h1>
      </main>
    </div>
  </div>
</div>
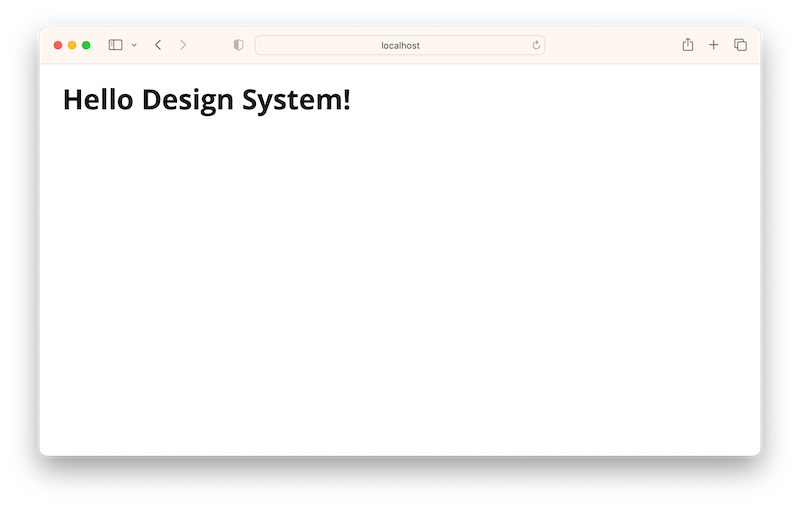
At this point you should have something like this:
Using components
The second part of the Design System is the citizens_advice_components gem. This is a Rails engine which bundles a set of ViewComponents.
The Rails components can be installed by adding the following to your Gemfile:
# Use the Citizens Advice Design System
# Pin to the same version as the npm package
gem "citizens_advice_components",
    github: "citizensadvice/design-system",
    tag: "v5.5.0",
    glob: "engine/*.gemspec"

# This line is optional. The citizens_advice_components gem is built
# on top of view_component and bundles this as a dependency but it
# is encouraged that you also use this for writing your own application
# components so it can be helpful to explicitly name this as a dependency.
gem "view_component", "~> 3"
Followed by:
bundle install
After restarting the application, try adding the following to your home page view:
<%# See https://citizens-advice-design-system.netlify.app/foundations/typography/ %>
<%# Wrap any plain HTML prose text you want to style in a cads-prose class %>
<div class="cads-prose">
  <p>Thanks for following along with the design system guide</p>
  <h2>Example components<h2>
  <p>A callout is included below for reference, try rendering a few other components yourself.</p>
</div>

<%= render CitizensAdviceComponents::Callout.new(type: :standard) do %>
  <p>This is an example callout</p>
<% end %>
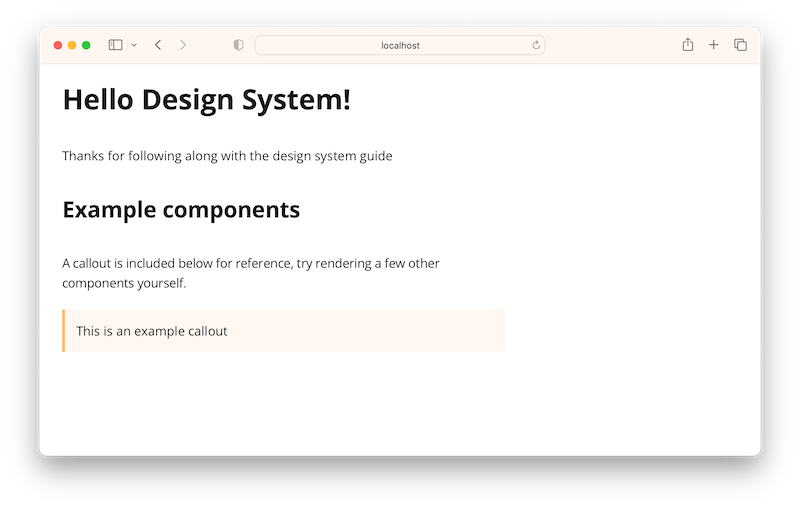
If everything has worked as expected you should see a callout rendered on the page.
Adding your own components
The Design System components are built on top of ViewComponent. It is recommend that you use this library to build your own application components too. In fact let’s use it to customise the header component and navigation component to suit our application.
Start by creating an app/components directory:
mkdir -p app/components
Add a new file at app/components/app_header_component.rb with the following contents:
class AppHeaderComponent < ViewComponent::Base
  def navigation_links
    [
      { url: "#", title: "Benefits" },
      { url: "#", title: "Work" },
      { url: "#", title: "Debt and money" },
      { url: "#", title: "Consumer" },
      { url: "#", title: "Housing" },
      { url: "#", title: "Family" },
      { url: "#", title: "Law and courts" },
      { url: "#", title: "Immigration" },
      { url: "#", title: "Health" }
    ]
  end
end
And a corresponding template file at app/components/app_header_component.html.erb with the following contents:
<%= render CitizensAdviceComponents::Header.new do |c| %>
  <% c.with_logo(title: "Citizens Advice homepage", url: "/") %>
  <% c.with_search_form(search_action_url: "/search") %>
<% end %>
<%= render CitizensAdviceComponents::Navigation.new(links: navigation_links) %>
You can view the ViewComponent guides for more information on how this library works but essentially this defines a custom component which wraps the Design System header component and configures it to suit our application.
After restarting the application you can then add the following to your application.html.erb layout:
<%= render AppHeaderComponent.new %>
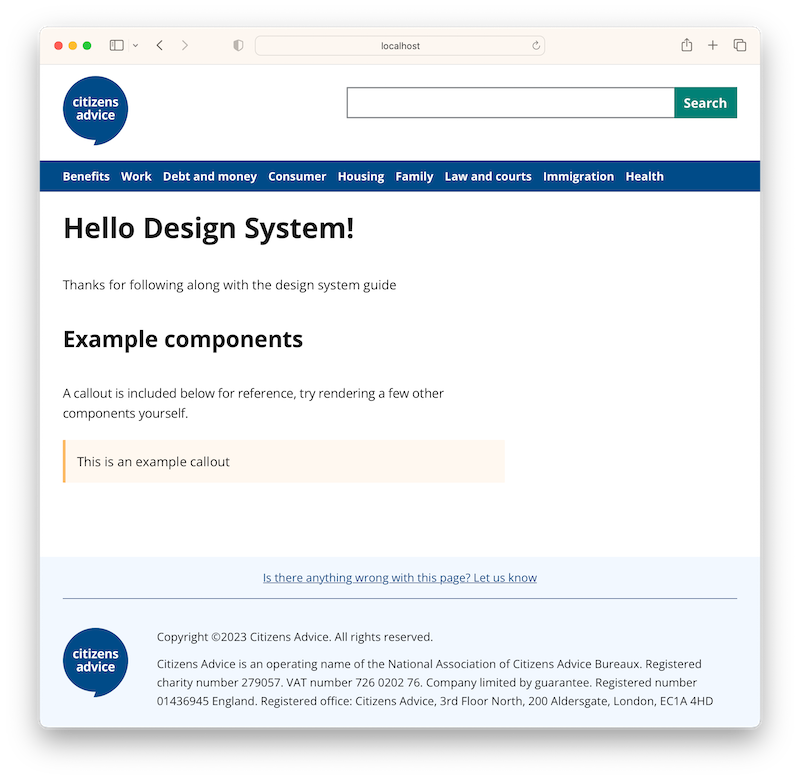
If everything has worked you should see the Citizens Advice logo, a search form, and the navigation.
Let’s repeat the process to add a global footer.
Add a new file at app/components/app_footer_component.rb with the following contents:
class AppFooterComponent < ViewComponent::Base
  def call
    render CitizensAdviceComponents::Footer.new do |c|
      c.with_feedback_link(url: "https://example.com/")
    end
  end
end
Here we’re using ViewComponents ability to render without a template file, by defining a call method.
Just like the header component we can then call this from our application.html.erb layout using:
<%= render AppFooterComponent.new %>
After you’ve done this you should have a page that looks something like this:
Using JavaScript components
Up until this point we’ve not loaded any JavaScript. This is because the Design System is built on the principles of progressive enhancement and doesn’t need JavaScript to function.
However some components have some companion JavaScript behaviour. In our case the header and navigation components have some extra JavaScript we need to load for the best experience.
Add the following to your app/javascript/application.js entrypoint:
import { initHeader, initGreedyNav } from '@citizensadvice/design-system';

initHeader();
initGreedyNav();
Each of the component guides tell you if the require any additional JavaScript along with any polyfills they might require for older browsers.
If everything has worked as expected you should be able to resize your browser window and see some additional behaviour in the header and navigation.
Recap
If you made it this far you should have a brand new Rails application and have seen how to:
- Install and configure the Design System for use with Rails
- Set up the basic layout structure the Design System requires.
- Use ViewComponent to write your own components which wrap Design System components
- Have a sample template you can try out for yourself or use as a basis for your own application.
Next Steps
- Have a go using the application you’ve just created and try rendering a few more Design System components after reading the component guides.
- Read the ViewComponent guides. Although it’s possible to use the Rails components without understanding everything about how ViewComponent works it’s worth getting a feel for it as well as understanding how you can use it for your own application code.
- Look at the source code for the demo application. The Design System source code includes a demo application much like the one we created in this guide but with a few more examples included.
Thanks for following along!
Questions and contributions
All design system discussions take place in the #design-system Slack channel. For current issues, roadmap and other info see the Github project board and related issues.